Step 1 - The Bases
The forest area bases were cut with a jigsaw from 1/8" MDF in a variety of shapes and sizes. I also bought a bunch of metal washers. I don't have any pictures of them in this stage.
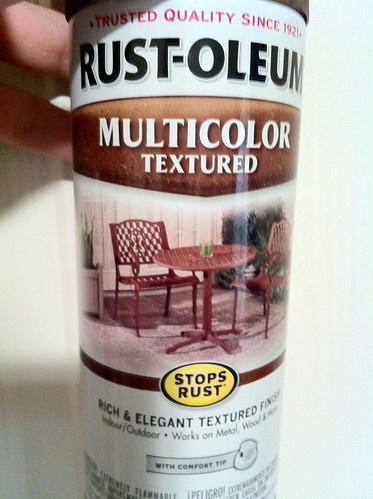
Step 2 - Rustoleum
I got a can of textured Rustoleum. The color is dark brown and the texture is described as "Rich & Elegant." I like to think of myself as rich and elegant, but alas I am neither. The woods bases and the washers are sprayed liberally with this. The finished bases will have a forest blend flock applied.
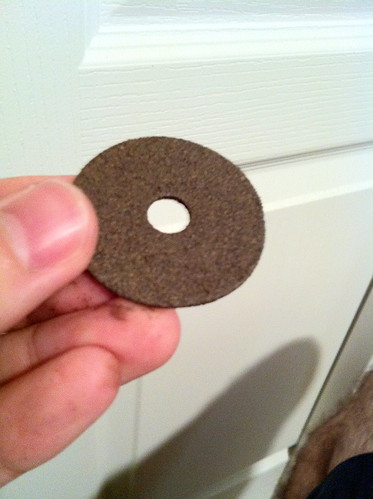

Step 3 - Bush Washers
My idea is to have the woods made up of a number of washers. About half will have trees on them and the other half will have bushes to give a sense of dense undergrowth. I simply glued lichen and rocks onto a number of small washers to get the base. These are not done yet; they will have leaves and turf applied in a later step.
In the second picture you can also see some of my Confederates painted by Gary and a 1914 German Mortar painted by Silent Jim.


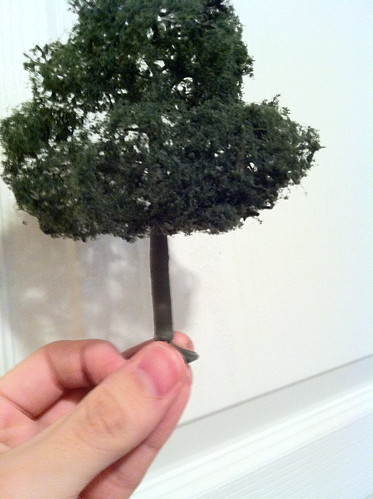
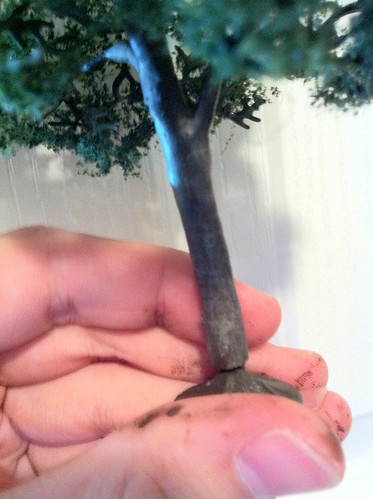
Step 4 - Trees
These trees are from Bachmann's SceneScapes line. The first picture is of a 5" walnut tree right out of the box. My only complaint is that the trunk and branches are a greyish green color that, to my mind, does not look like walnut bark. The second picture is of another 5" walnut tree which has had its trunk and main branches painted dark brown then drybrushed with a medium grey.
These will have Noch leaves applied as soon as they get in and then affixed to a washer.
And that concludes Part 1 of this series...
No comments:
Post a Comment