Sunday, June 5, 2011

Creating Woods Part 2

Finally, the woods are finished.

The trees were affixed to the washers and the washers were covered with Scenery Express' Green Adirondack blend, which has bits of twigs, leaves, pebbles, and about five kinds of green turf. The trees were sprayed with glue, then Noch leaves were applied, then sealed with matte medium. A similar process was used for the bushes.

All in all, I'm very happy. They look great and are indestructible. I think I need about 2 more dozen, though...


Friday, May 27, 2011

Creating Woods, Part 1

This is part one of a two-part series on creating my woods. The thought on these is that the area of the base defines the area affected by the forest terrain, but the trees are moveable in order to accommodate moving units in and through the wods.

Step 1 - The Bases

The forest area bases were cut with a jigsaw from 1/8" MDF in a variety of shapes and sizes. I also bought a bunch of metal washers. I don't have any pictures of them in this stage.

Step 2 - Rustoleum

I got a can of textured Rustoleum. The color is dark brown and the texture is described as "Rich & Elegant." I like to think of myself as rich and elegant, but alas I am neither. The woods bases and the washers are sprayed liberally with this. The finished bases will have a forest blend flock applied.


Step 3 - Bush Washers
My idea is to have the woods made up of a number of washers. About half will have trees on them and the other half will have bushes to give a sense of dense undergrowth. I simply glued lichen and rocks onto a number of small washers to get the base. These are not done yet; they will have leaves and turf applied in a later step.

In the second picture you can also see some of my Confederates painted by Gary and a 1914 German Mortar painted by Silent Jim.


Step 4 - Trees
These trees are from Bachmann's SceneScapes line. The first picture is of a 5" walnut tree right out of the box. My only complaint is that the trunk and branches are a greyish green color that, to my mind, does not look like walnut bark. The second picture is of another 5" walnut tree which has had its trunk and main branches painted dark brown then drybrushed with a medium grey.

These will have Noch leaves applied as soon as they get in and then affixed to a washer.


And that concludes Part 1 of this series...

Saturday, April 2, 2011

The Great War, March 2011

I apologize for the nearly year-long delay in updating this blog.

Recently, we played a game of Warhammer Historical's The Great War. The game was a generic Anglo-German encounter battle. I wish I had more photos of the action, but I became too involved in rules explanation and refereeing to take pictures.

Before the photos, a quick recap of the game is in order. The British had the first turn and advanced their platoons up to a line of hedges. Their objective was to hold that line if possible and, if not, to hold a line at the rear of the wheat fields. The German objective was to push the British out of one or both lines. As soon as the Germans came within range, the British opened up with their Enfields and Vickers.

The Germans advanced. On their right, they made slow progress through the wheat field with two platoons. One platoon got on top of a rocky prominence, but was quickly chased off of it. The other platoon never advanced beyond the hedge of the wheat field. On the German left, a platoon of infantry and a Maxim gun ascended the rocky hill in the center of the map. They laid down and began firing on the British line. The last German platoon went around to the left of the hill, intending an assault on the British line.

Fortunately for the British, they were able to hold off the German advance long enough to get a victory. But things certainly looked grim at the end of the day.

To begin with, here is a view of the British line from behind the Vickers gun. A couple platoons of Germans can be seen in the distance.


On the first turn, rightmost British platoon advanced to occupy a country lane in advance of a wheat field.


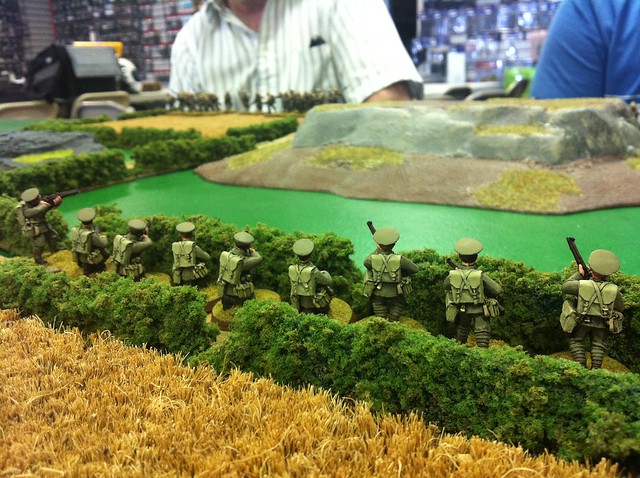
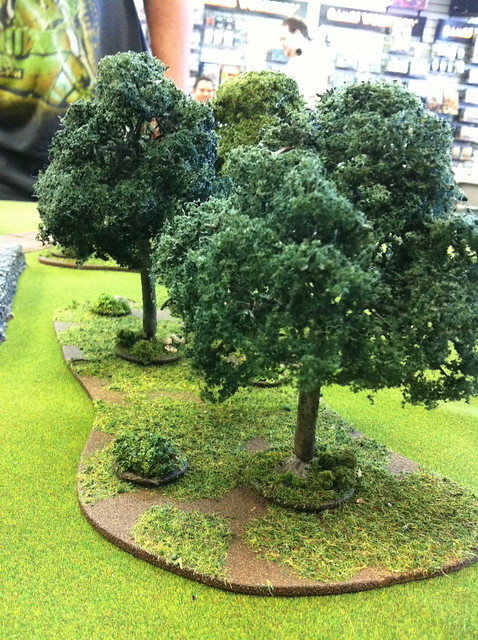
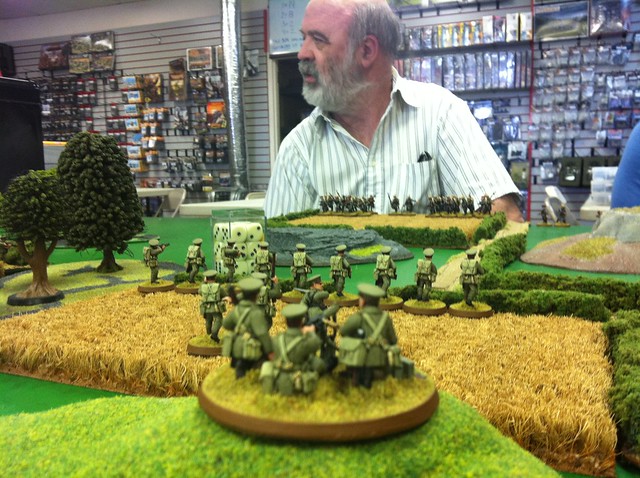
A view of the line which the British held throughout the battle. A third platoon is located behind a hedge row in front of the wheat field in the distance, but its location obscured by the tree.


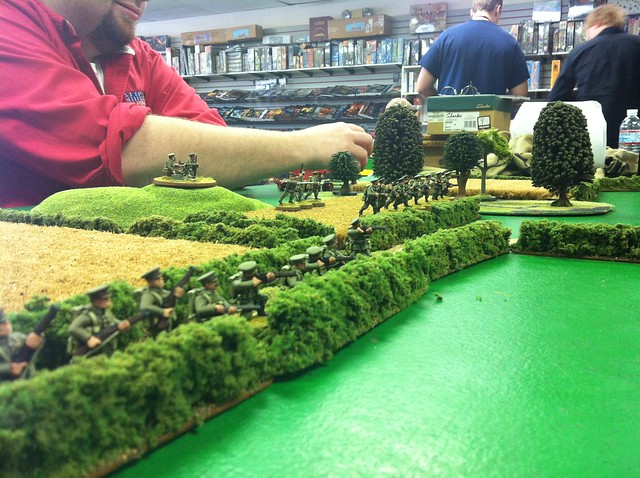
The German company enters the board. And their commander gesticulates.


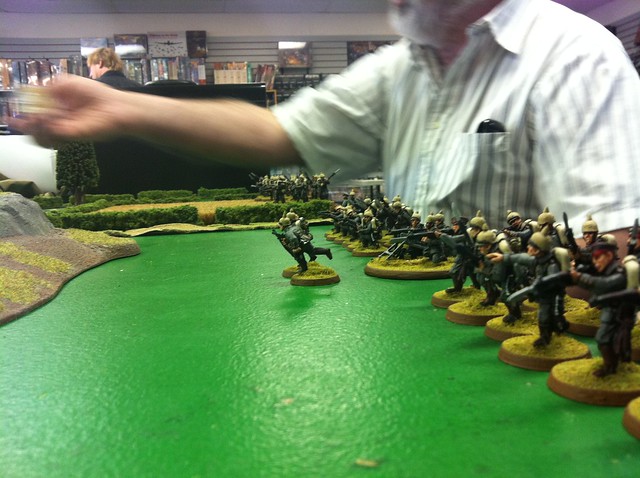
And some Germans hanging out in a wheat field.

Thursday, April 15, 2010

Welcome to the blog

I've held off on creating a gaming blog for some time now. I thought about making a setting-specific blog, but I have far too many diverse gaming interests for that. Also, as a law student, I don't have time to manage several blogs.

My present projects include, but are not limited to, the following:

- Colonial Sudan - 28mm, British and Mahdists
- The Lord of the Rings Strategy Battle Game - Mordor
- Lasalle - 15mm 1813 Prussians
- The Great War - 28mm 1914 British, French, and Germans
- Various 28mm fantasy figures for roleplaying

To start off, below are some (admittedly bad) pics of a recent game set in the Sudan, circa 1885. Figures are Perry Miniatures and Wargames Foundry, painted by me. Terrain is by TheTerrainGuy. Rules are my home-brewed variant of Games Workshop's The Lord of The Rings Strategy Battle Game. My worthy opponent-and the victor of the game-is Dave.


A surly-looking group of River Arab musketmen:


The Emir and his small band disgorging themselves from the village, in a typically haphazard fashion:


Steady the line, lads:


When in doubt, form up on the hill and put the porters in front.


Come on Dave, it's not that hard to win when you outnumber me 2:1 and are 12" away.